What's the easiest type of house to build? The simplest eco-friendly cottage design
 Feb, 22 2026
Cottage Cost Calculator
Calculate Your Cottage Build Cost
Estimate how much it would cost to build your own 6x8 meter eco-friendly cottage in New Zealand
Building a house doesn’t have to mean hiring contractors, waiting months, or going into debt. If you want something simple, affordable, and kind to the planet, the easiest type of house to build is a small eco-friendly cottage. Not the fancy, high-tech kind. Not the sprawling mansion. Just a cozy, well-built, low-impact home you can put together yourself-with basic tools, some help, and a clear plan.
Back in 2023, a group of homeowners in Nelson, New Zealand, built their own cottages in under 12 weeks. They didn’t use fancy equipment. No cranes. No permits that took six months. Just treated timber, recycled insulation, and a roof made from reclaimed metal. Their total cost? Under $25,000 NZD. And they’re still living in them today.
Why a small cottage beats other options
People often think of tiny homes, shipping containers, or modular kits when they ask about easy builds. But here’s the truth: most of those come with hidden problems.
- Tiny homes on wheels can’t always get permanent utilities, and zoning laws in many places ban them as permanent residences.
- Shipping container homes need heavy lifting gear, insulation upgrades, and corrosion-proofing-things most DIYers don’t have time or skill for.
- Modular kits sound simple, but delivery delays, missing parts, and complex assembly often turn them into 6-month projects.
A small cottage? It’s different. It’s stick-built-like a traditional house, but scaled down. You’re working with familiar materials: wood, concrete, glass. No welding. No crane rentals. Just nails, screws, and a level.
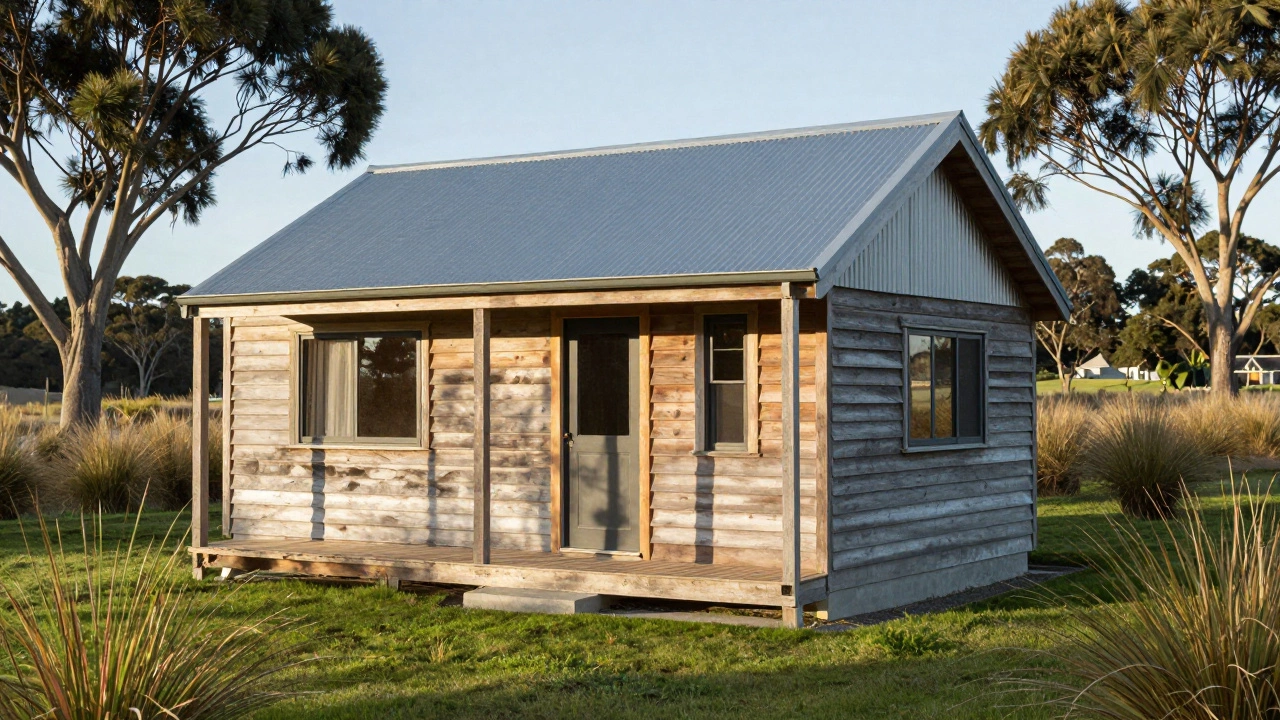
The core design: 6x8 meter footprint
The sweet spot for ease is a single-story cottage with a 6x8 meter (about 20x26 feet) floor plan. That’s big enough for a kitchen, bathroom, bedroom, and living area. Small enough that one person can lift a wall panel.
This size fits on most rural lots without needing a special land-use permit. In New Zealand, under the Resource Management Act, structures under 10 square meters don’t need building consent if they’re not lived in permanently. But a 48-square-meter cottage? It’s still low-risk if you follow basic codes. Most councils allow it as a secondary dwelling with a simple notification.
Here’s what that looks like:
- One bedroom (3x3 meters)
- Open-plan kitchen and living space (4x5 meters)
- Small bathroom (2x2 meters)
- Covered porch (2x3 meters)
No attic. No basement. No complex roof angles. Just a single-pitch or gable roof-easy to frame, easy to shingle.
Materials that make it simple
You don’t need exotic materials. Just smart choices.
Frame: Use treated pine. It’s cheap, strong, and resists rot. Buy it pre-cut to 2.4-meter lengths-that’s standard wall height. No measuring, no cutting.
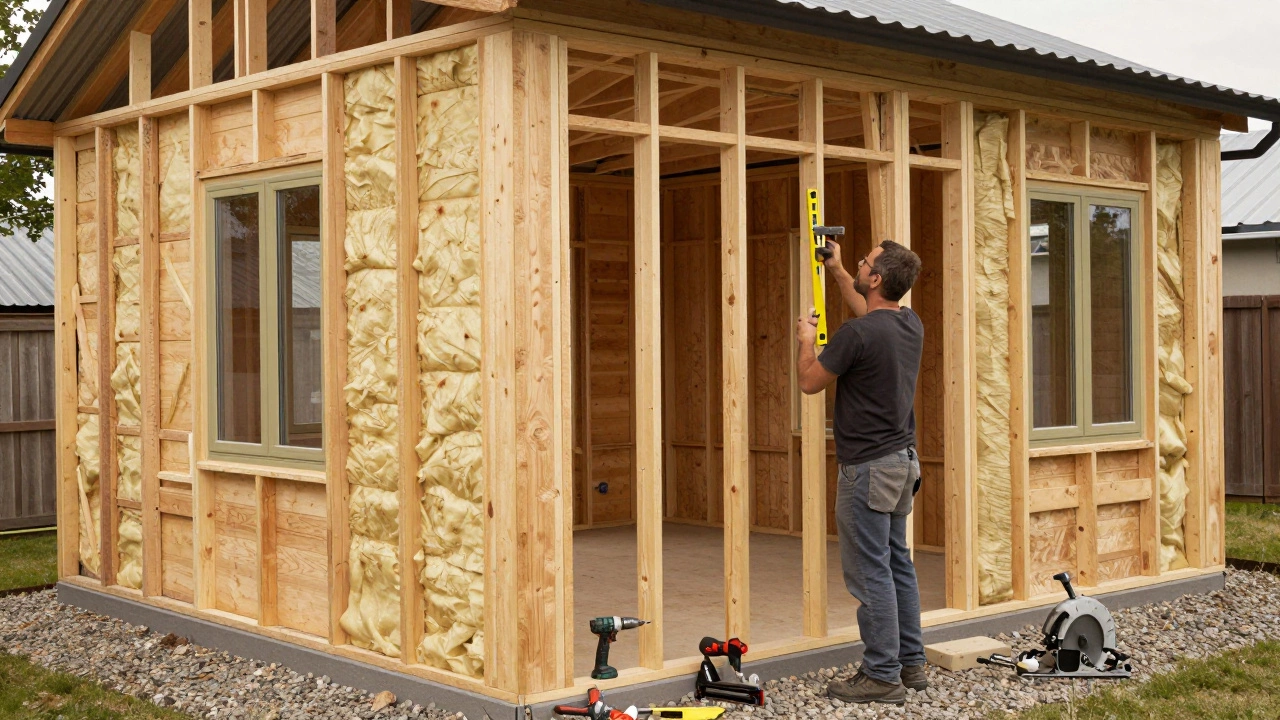
Insulation: Recycled denim or cellulose. Both are non-toxic, easy to install by hand, and perform better than fiberglass in humid climates like Wellington’s. Cellulose is made from recycled newspaper and treated with borax-it’s fire-resistant and stops drafts.
Walls: Structural insulated panels (SIPs) are great if you can afford them. But if you’re on a budget, use standard timber framing with 19mm plywood sheathing. Then add a breathable membrane and weatherboard cladding. Easy to install with a hammer and nail gun.
Roof: Corrugated metal sheets. They’re lightweight, last 50+ years, and shed rain like nothing. Install them yourself with a drill and self-tapping screws. No roofing nails needed. No underlayment required if you use a breathable membrane underneath.
Floor: Concrete slab on grade. No footings, no deep digging. Just a 100mm-thick slab with a layer of gravel underneath. It’s cheap, termite-proof, and doubles as thermal mass to keep the cottage warm in winter.
Tools you actually need
You don’t need a full workshop. Here’s the real toolkit:
- Electric drill with screwdriver bits
- Circular saw (or borrow one)
- Level and tape measure
- Hammer and nail gun
- Stud finder (for wiring)
- Work gloves and safety glasses
That’s it. No table saw. No jointer. No router. You’re not building a cabinet. You’re building a shelter. Keep it simple.
How long does it take?
One person working weekends can build the shell-frame, roof, walls, floor-in about 8 weeks. Add another 2-3 weeks for windows, doors, insulation, and finishes.
Here’s a real timeline from a couple in Kaikōura:
- Week 1-2: Clear site, lay gravel base, pour slab
- Week 3-4: Frame walls and roof trusses
- Week 5: Install roof sheets and weatherproofing
- Week 6: Add windows, doors, and cladding
- Week 7: Install insulation and interior walls
- Week 8: Electrical, plumbing, flooring, paint
They finished on a Friday. Moved in Saturday. No permits. No delays. No contractors.
Why this works in New Zealand
Our climate is perfect for this kind of build. Mild winters, low humidity in most regions, and plenty of sun. You don’t need heavy snow load ratings. You don’t need hurricane straps. You just need good drainage and a tight envelope.
Plus, local suppliers make it easy. Companies like Timberwise and GreenBuild NZ sell pre-cut kits with detailed manuals. You can order everything online and have it delivered to your site in two days.
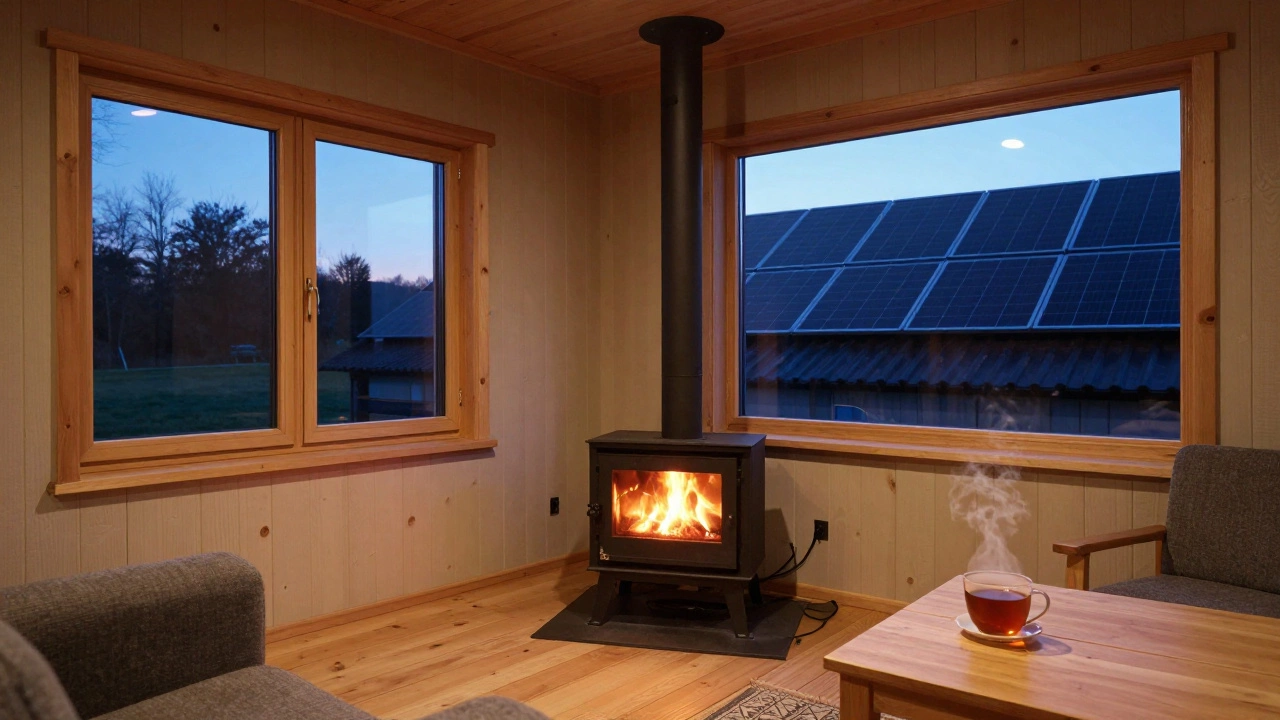
And if you’re worried about energy use? Install a 1.5kW solar panel system. It costs about $3,000 and covers your fridge, lights, and kettle. No grid connection needed.
Pitfalls to avoid
Even simple builds go wrong if you skip basics.
- Don’t skip the moisture barrier. Damp walls rot. Use a breathable membrane under cladding. Always.
- Don’t use untreated timber. Even if it looks good now, it’ll warp in 2 years.
- Don’t try to do plumbing yourself. Water leaks ruin everything. Hire a licensed plumber for the drain lines. It’s $500 well spent.
- Don’t rush the foundation. A slab must cure for at least 7 days before you start framing. Rush it, and your walls will tilt.
Real cost breakdown (2026 prices)
Here’s what one of these cottages actually cost in late 2025:
| Item | Cost (NZD) |
|---|---|
| Timber frame and roofing | $6,200 |
| Recycled insulation | $1,100 |
| Corrugated metal roof | $1,800 |
| Concrete slab and gravel | $2,500 |
| Windows and doors | $3,400 |
| Electrical (solar + battery) | $3,200 |
| Plumbing (only drain lines) | $800 |
| Cladding and paint | $1,900 |
| Permits and council fees | $500 |
| Total | $20,900 |
That’s less than a used car. And you own it outright.
What comes next?
Once it’s built, you’ll realize something: you didn’t just build a house. You built freedom. No landlord. No rent increases. No HOA fees. Just you, your space, and a quiet life.
Many people start with one of these cottages. Then they add a greenhouse. Or a compost toilet. Or a rainwater tank. It becomes a lifestyle, not just a building.
And if you’re wondering whether this is just for retirees or off-grid enthusiasts? No. It’s for teachers, nurses, artists, and young families. People who want to live well without living deep in debt.
The easiest house to build? It’s not the fanciest. It’s not the biggest. It’s the one you can finish before winter hits-and then sit on the porch with a cup of tea, watching the rain fall.
Can I build this cottage without any building experience?
Yes. Most people who build these cottages have zero construction background. The key is using pre-cut materials, following a step-by-step manual, and not trying to do everything alone. Borrow a friend with a drill. Watch YouTube tutorials on framing. Ask at your local hardware store-they’ll give you free advice. You don’t need to be an expert. You just need to be careful and patient.
Do I need a permit to build a small cottage in New Zealand?
It depends. If the cottage is under 10m², you usually don’t need one. But for a 48m² structure, most councils require a simple notification-not a full building consent-if it meets basic safety standards. You’ll still need to check with your local council, but the process takes less than a week. Many councils now have online forms for minor dwellings. Don’t skip this step. Skipping permits can cause problems if you ever sell the property.
Can I connect it to water and electricity?
Yes, but you don’t have to. Most people use solar panels and a 1,000-litre rainwater tank with a filter. You can hook up to grid power and mains water if your property allows it, but many rural zones don’t have easy access. Going off-grid is often cheaper and more reliable. A 1.5kW solar system with a 5kWh battery will power lights, a fridge, and a kettle. You won’t need a generator.
How do I keep it warm in winter?
Insulation is everything. Use at least 90mm of cellulose insulation in the walls and ceiling. Install double-glazed windows. Seal every gap with weatherstripping. Add a small wood-burning stove-just 2kW output. It heats the whole space. You’ll use less energy than a hairdryer. The concrete slab also stores heat during the day and releases it slowly at night.
Is this type of cottage suitable for all climates in New Zealand?
Yes, with minor adjustments. In colder areas like Central Otago, add more insulation (140mm instead of 90mm) and use thermal mass in the floor. In wetter areas like Fiordland, raise the foundation slightly and use more durable cladding like steel or composite. In windy zones like Kaikōura, anchor the structure to the slab with steel straps. The design is flexible. It’s not one-size-fits-all-but it adapts easily.